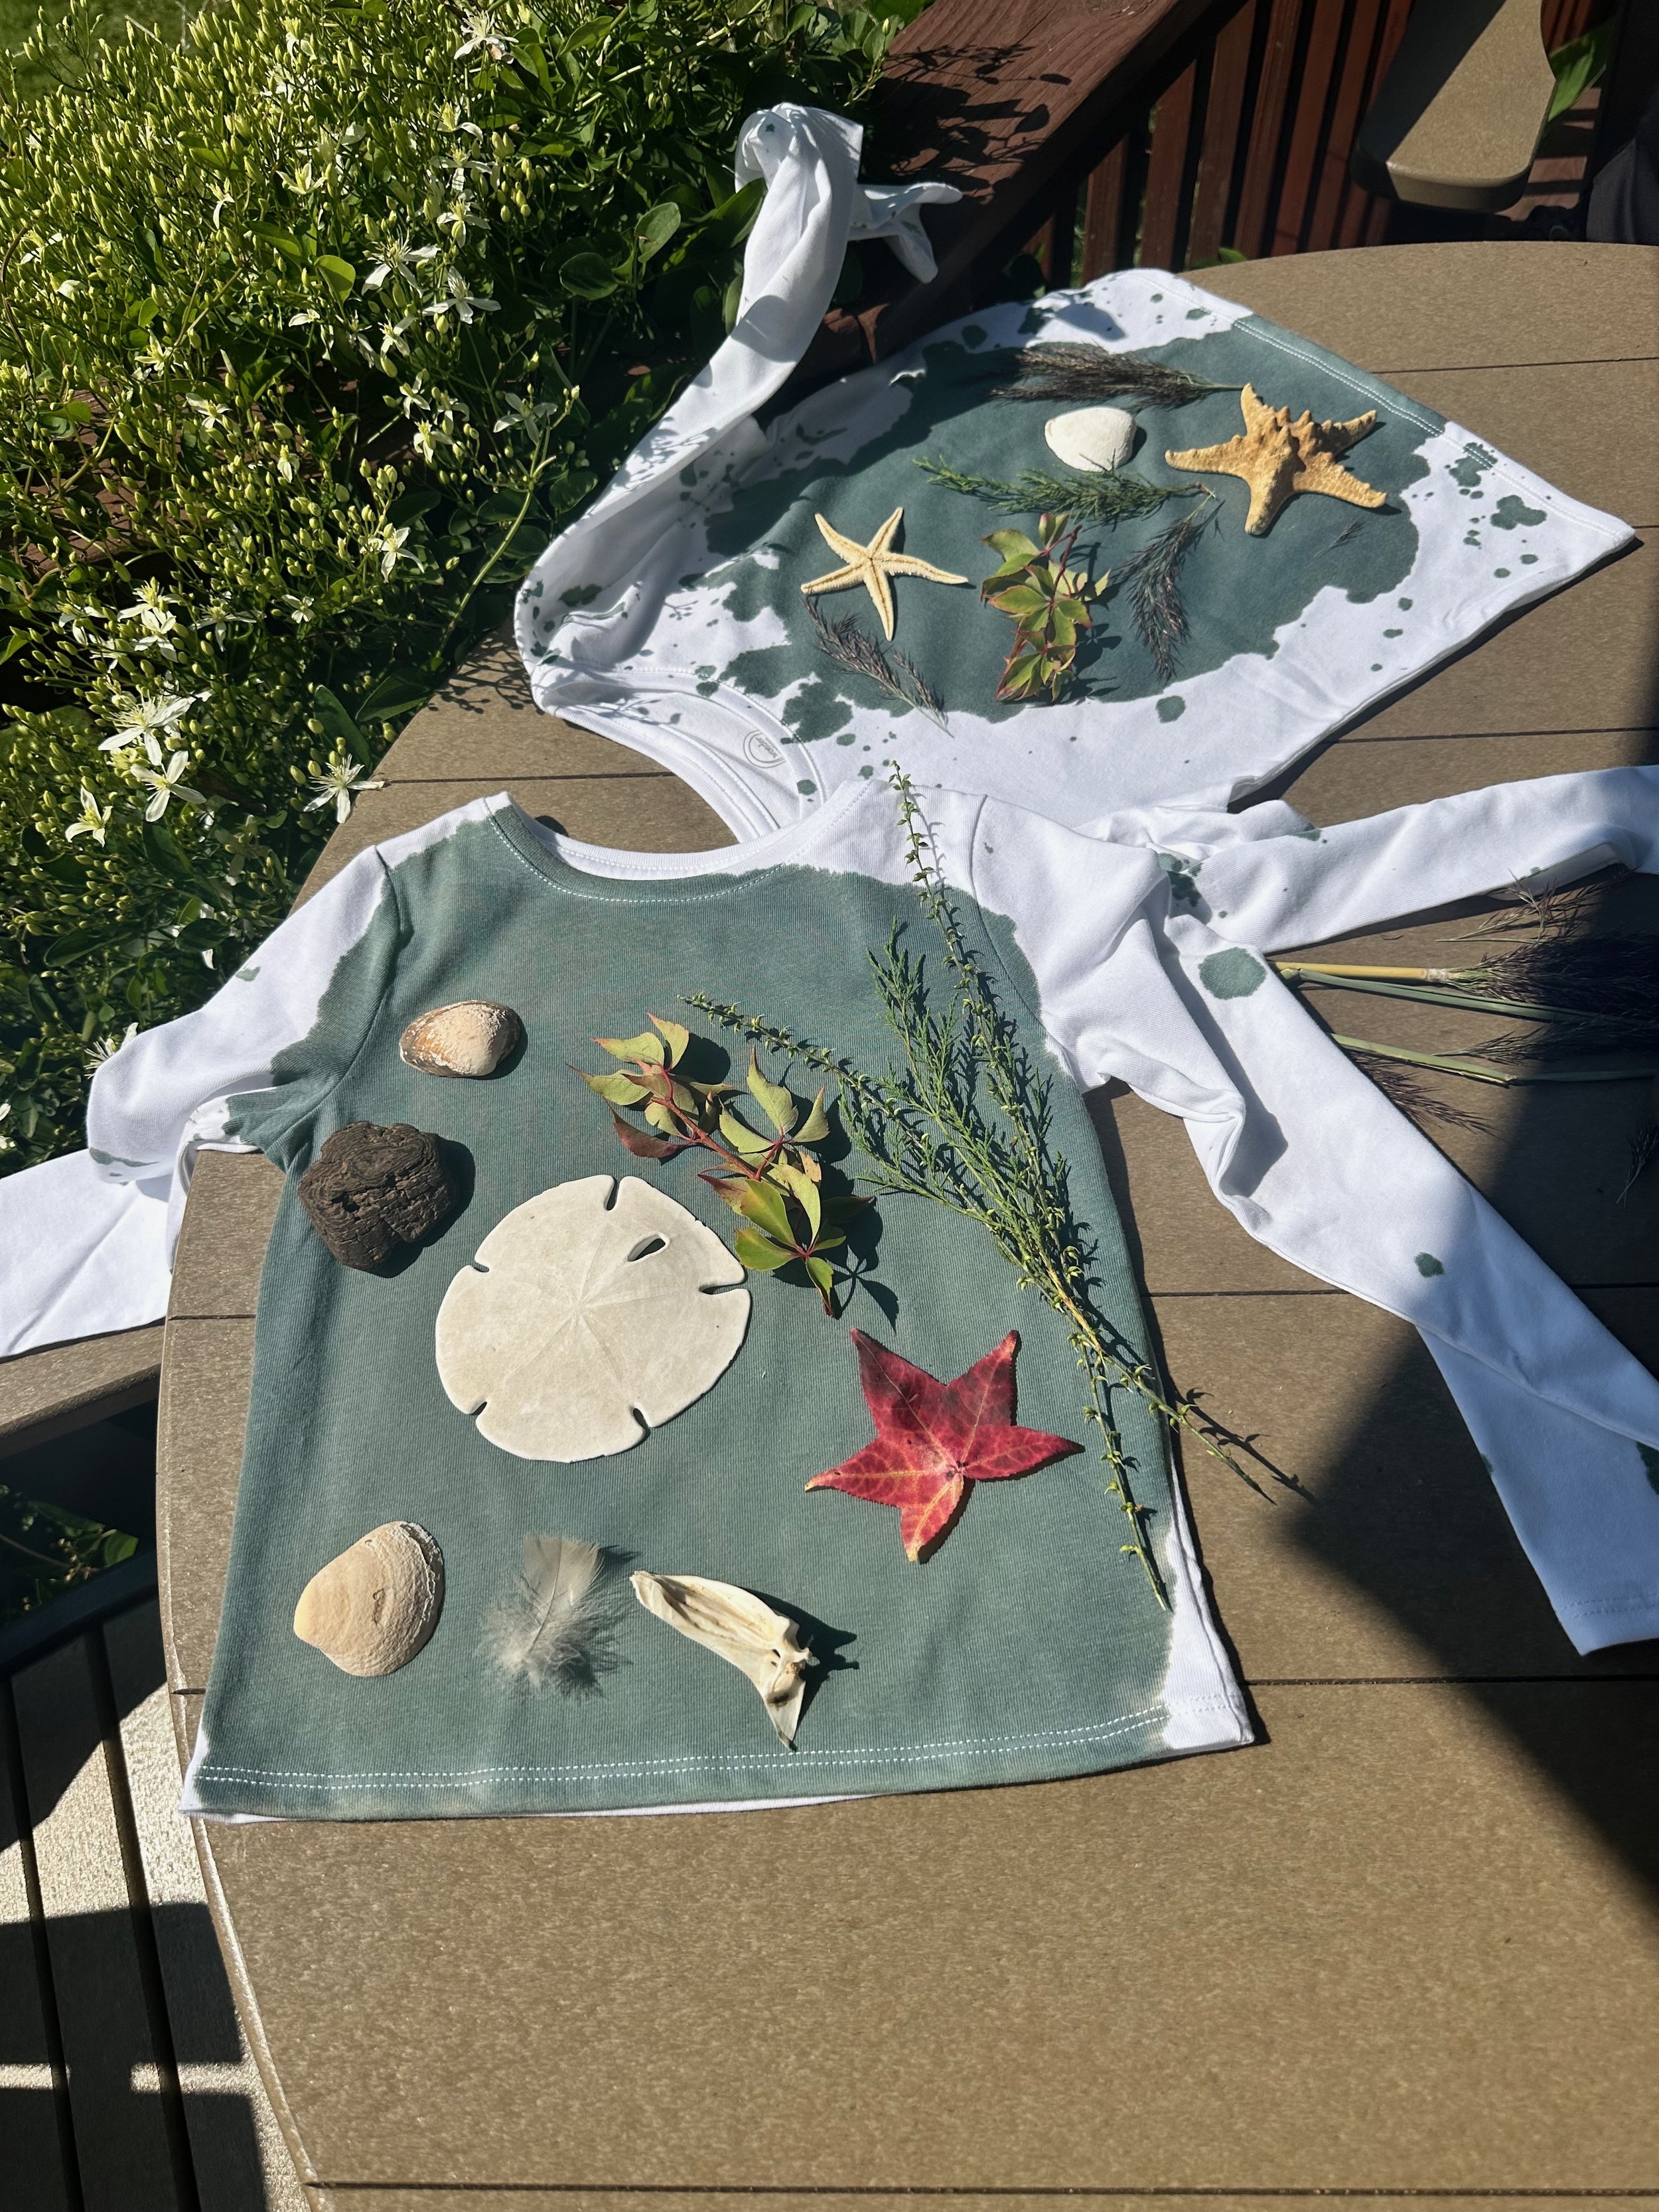
The Most Fun Vacation Tradition DIY
THIS POST MAY CONTAIN AFFILIATE LINKS, WHICH MEANS I MAY EARN A SMALL COMMISSION AT NO EXTRA COST TO YOU, IF YOU MAKE A PURCHASE THROUGH ONE OF MY LINKS. I ONLY SHARE PRODUCTS I TRULY LOVE AND USE FOR MYSELF OR WITH MY OWN KIDS AND PATIENTS. THANK YOU FOR SUPPORTING THIS SPACE!
🐚☀️ The start of such a special vacation tradition- cyanotype edition!
We recently returned from our last little trip of the summer and while we were there, my sister had an idea that ended up being the highlight of the entire trip, and officially the start of a vacation tradition for our family!
We made cyanotype shirts DIY from start to finish with the kids, which was a long process but truly, we had so much fun at every single stage of it. From prepping the solution, creating our background design, pulling together our very own ‘darkroom’ (aka a bathroom with no windows 😆), hunting for beautiful items to use on the beach, and each child designing their very own shirt to remember the trip with- it was seriously SO special and so fun. 11/10 recommend for a relatively inexpensive but SO meaningful souvenir 🥹
Here’s how it went & what we learned on our first go-round with cyanotype!
Just a heads up, it IS a long process if you’re going to DIY from start to finish (not using pre-treated fabric) But honestly, every part of the process was so fun and made it so much more memorable - I would 10/10 recommend going for it start to finish if you have the time!
How we did it:
First, mix the solution and leave it to sit for 24 hours.
After the 24 hours, paint the solution onto the clothing you want, in whatever design you want. THIS HAS TO BE DONE AT NIGHT! Once the solution is painted on, you immediately hang the clothing to dry in the darkest room you can find for 24 hours. We hung ours in a windowless bathroom and it worked out great.
Now the fun part…go on a hunt for the items you’d like to imprint on the shirt! We found shells, foliage from the beach, pieces of driftwood, sea glass - SO many goodies.
With the shirts still in the dark room, we laid out cardboard for each child to pick the items they found & arrange them into the design they wanted. Each adult was responsible for laying out those designs on the shirts as quickly as possible once they’re removed from the dark room.
Once the design is laid out, you expose the shirt to full sun WITH the items on it, leaving it there for anywhere between 5-30 minutes, depending on a few factors (like time of day/direct sun, how defined you’re looking for the design to be, etc).
Once the time is up, immediately rinse the clothing under COLD water for 5 minutes or until the water runs fully clear.
Then just hang to let dry and enjoy!
Three things we learned after this first go round:
The process works best on cotton. We didn’t realize and used polyester blend for the adults and it was an absolute bust 🫠😂
When considering the design you want, how translucent the item is makes a big difference! You can see in the reel the difference between something like a sand dollar (very distinct on the final design) vs. something like foliage (less distinct) vs. something like a feather that was moving in the breeze and ultimately left no design at all.
For laundering once the entire process is complete, use MILD detergents. Anything harsh will compromise the design.
It was honestly so much fun and will be a tradition we stick with every single trip we take - I hope you love it if you do it too!
To shop all the items you need check out my list of supplies here!
If you’re headed to the beach with your littles, here are all of our favorite beach vacation items!
Looking for Developmental Support?
For developmental questions, tips and guidance related to milestones about tummy time, rolling & sitting, crawling and walking, check out KC’s developmental Masterclasses linked here.
Think you would do this on your next vacation?! Save it for later!


